
Installation
Once you have setup your system and configured PhPeace, installation is performed using a browser and connecting to a specific portal page.
After an initial test, the installation page will require you to fill in some information and it will finalize PhPeace database, content and files for its first use.
Point your browser to www.mydomain.org/phpeace/install.php
(use your own portal hostname instead of mydomain.org)
The installation will be completed in 6 steps. In each page, a button enables you to proceed to the next step.
Occasionally, another button is displayed to move back to the previous step.
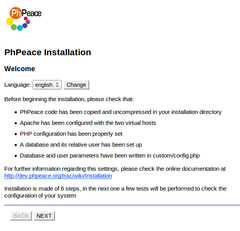
Welcome screen
Installation process starts as the Welcome screen is displayed.
You can change the installation language. Available options are English (default) and Italian.
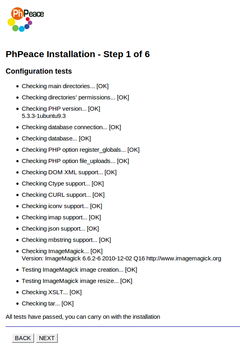
Step 1 - Tests
A number of tests are executed to verify that your system has been properly configured.
There could be two types of errors: critical (which must be resolved to proceed with the installation) and non-critical, which should be addressed but can also be fixed later.
If all critical tests are successful, the button to proceed to the next step is active.
Step 2 - Database initialisation
Database schema and content is initialised. No input is required.
If successful, press the next button.
Step 3 - Directories Setup
You may want to change the name of some directories. Default values are shown and if settings are fine, click next to move to the next step.
Step 4 - Domains setup
Type the two hostnames, for the admin interface and for the portal, then provide a title, type a description and an email address for this portal.
You can edit this settings later in the Administration module.
Step 5 - Setup Administrator Account
You are asked to create the first user of the administrative interface.
This user will have permissions to create sites and other users.
You have to provide login, password, name and email address.
Step 6 - Final
Administrative user account is created and installation is finalized.
You can now login at admin.mydomain.org with the credentials you have just defined.